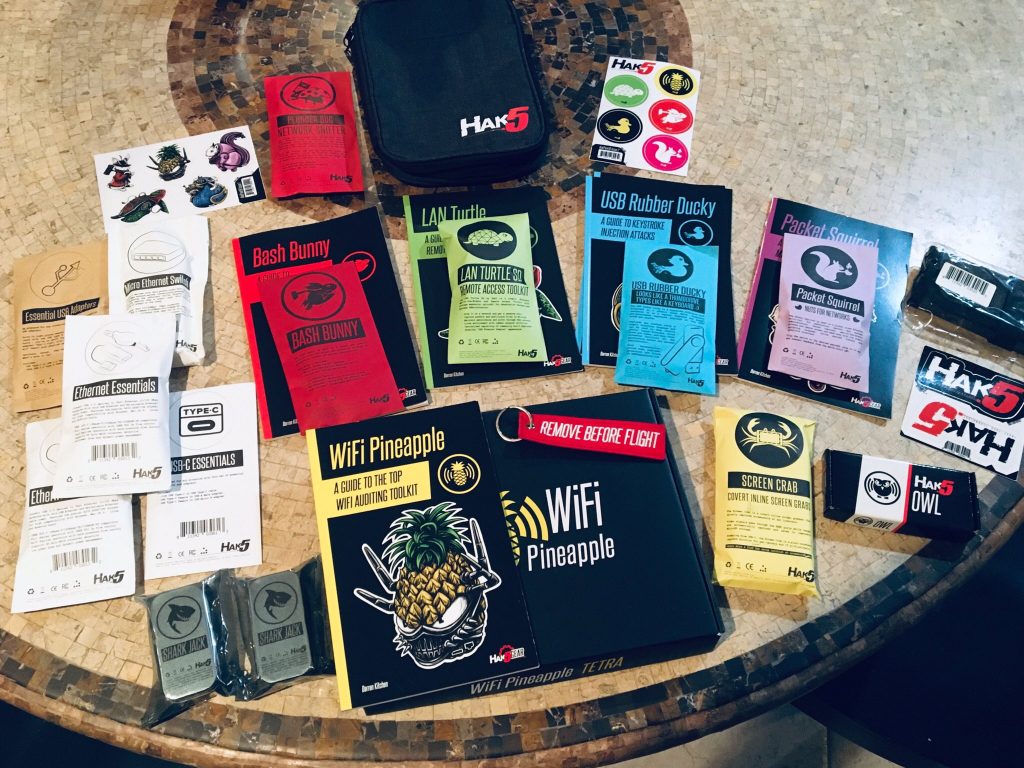
This is our second review article of the Hak5 pentesting tools. After previously covering the Shark Jack, today we will be focusing on the Screen Crab. Hak5 bills the Screen Crab as a “stealthy video man-in-the-middle implant.” It sits inline between an end device and video screen, and captures screenshots of the data being sent over every few seconds. This makes it ideal for pentesters, security professionals monitoring potential insider threats, or as the perfect tool to steal the Death Star plans during an Imperial PMR (Thank you, Bothans!).
*The information below is for educational purposes only, and you should only use a tool like this on equipment/networks that you are authorized to do so.*
Cracking the Crab
Like our previous article where we jumped right into using it and seeing the results before we do a deep dive, we’re going to continue that tradition. If Hak5 says you can just take it and plug it in and it works, I really want to see if they are being honest about that. And once again, they are 100% correct. TDLR: Plug it up and turn it on, and it captures images of the computer desktop every 5 seconds!
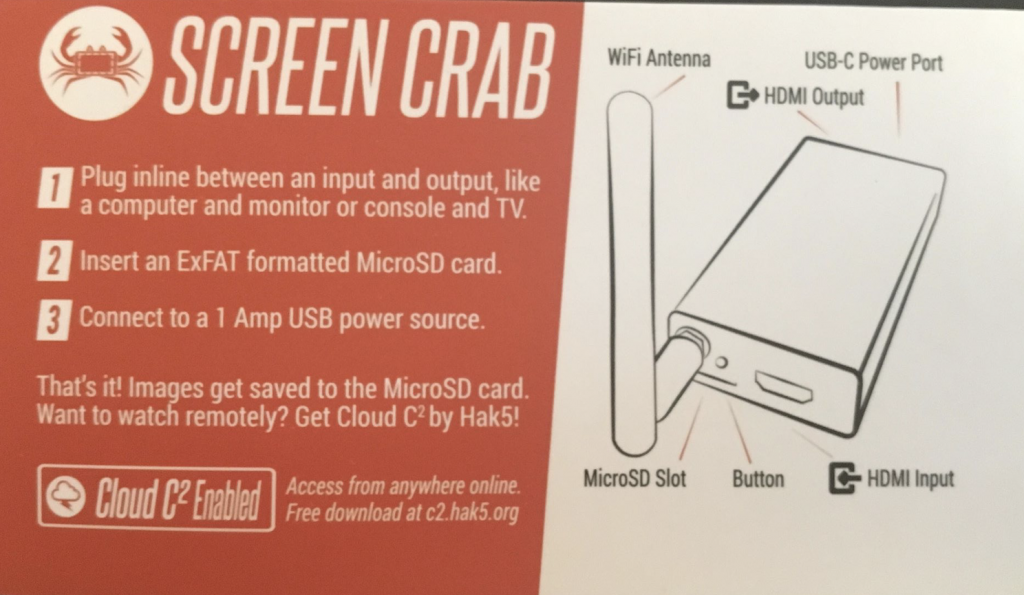
So, lets look at the physical layout and what you need to do get this crab rolling from the moment you open the package.
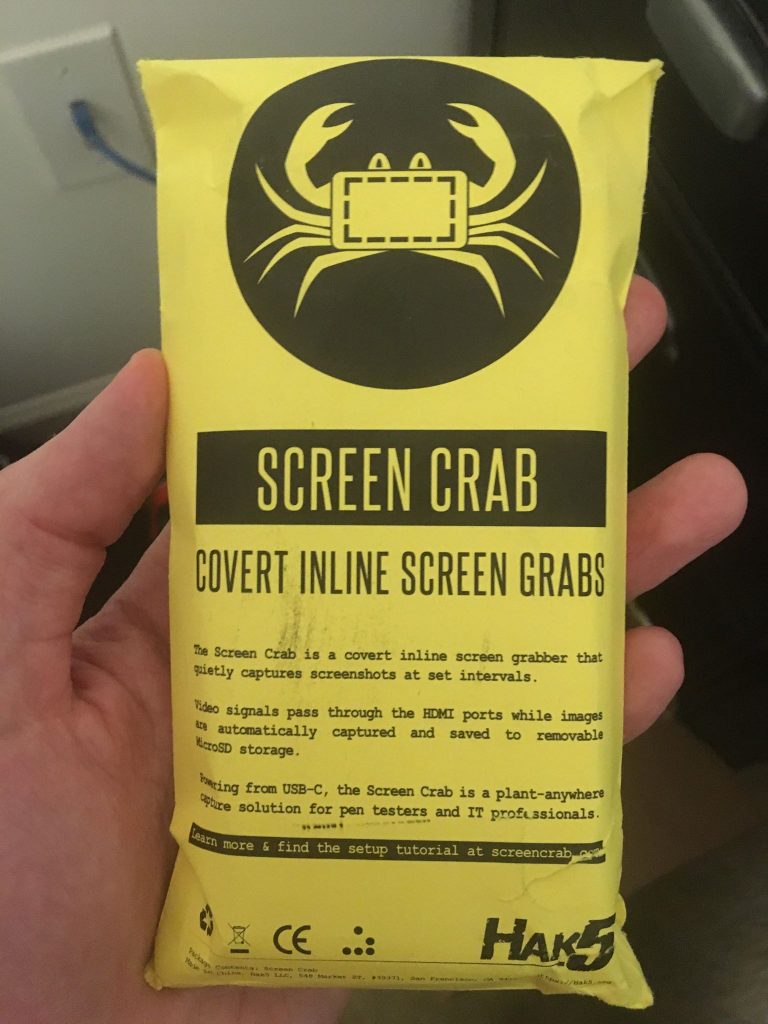
After opening the package, you end up with the screen crab, a wifi antenna, and the information card shown below.
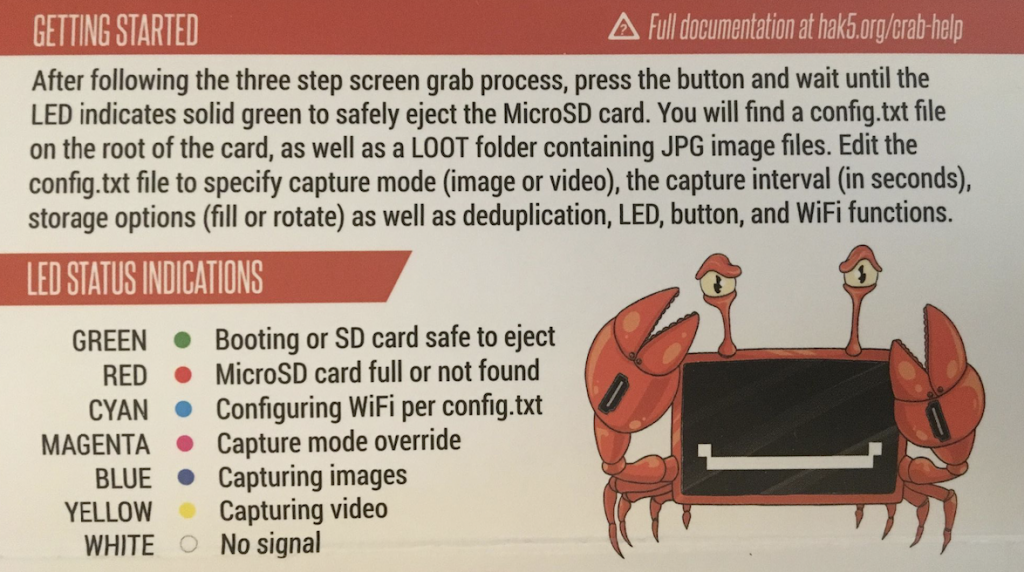
In my set up, I just took the device connected a laptop to the HDMI input port, the output port to a display screen, popped in a MicroSD memory card, and powered it on. It goes through a boot up process, the light is green during this time and then once everything is loaded and it starts capturing images, the light turns to a solid blue. Hak5 has a much more in-depth breakdown of the various lights indicators here.
Crab Dip
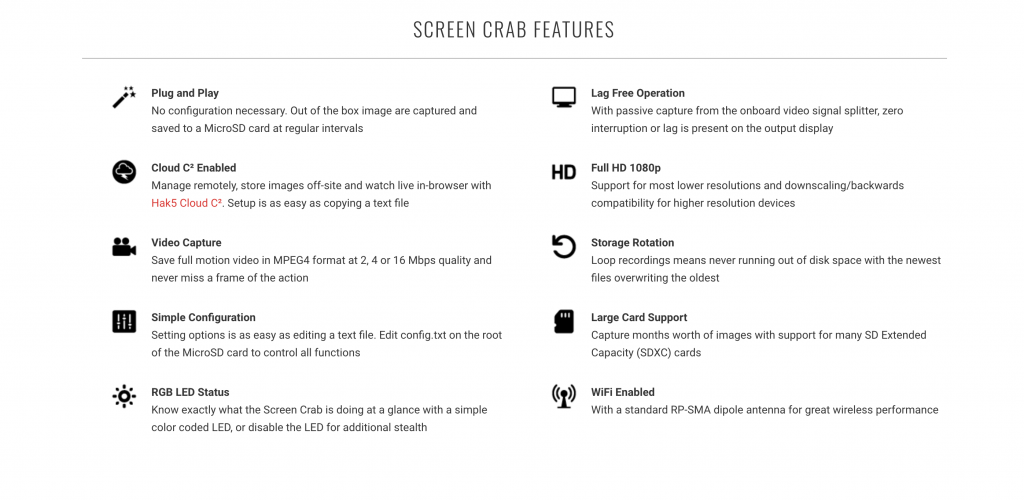
Before we dive into the real details of configuration options, and more importantly getting the data off of the device, let’s look at the capabilities of the device. Hak5 does a solid job of laying these out below.
There are some points worth noting: It can do both video or pictures. Lag free means it has less of a chance of causing problems that would lead to discovery. The large card support and storage rotation means this can be in place for an extended period of time. Also, the being WiFi enabled allows for you to connect back to your Cloud C2 server and see data from the device in real time!
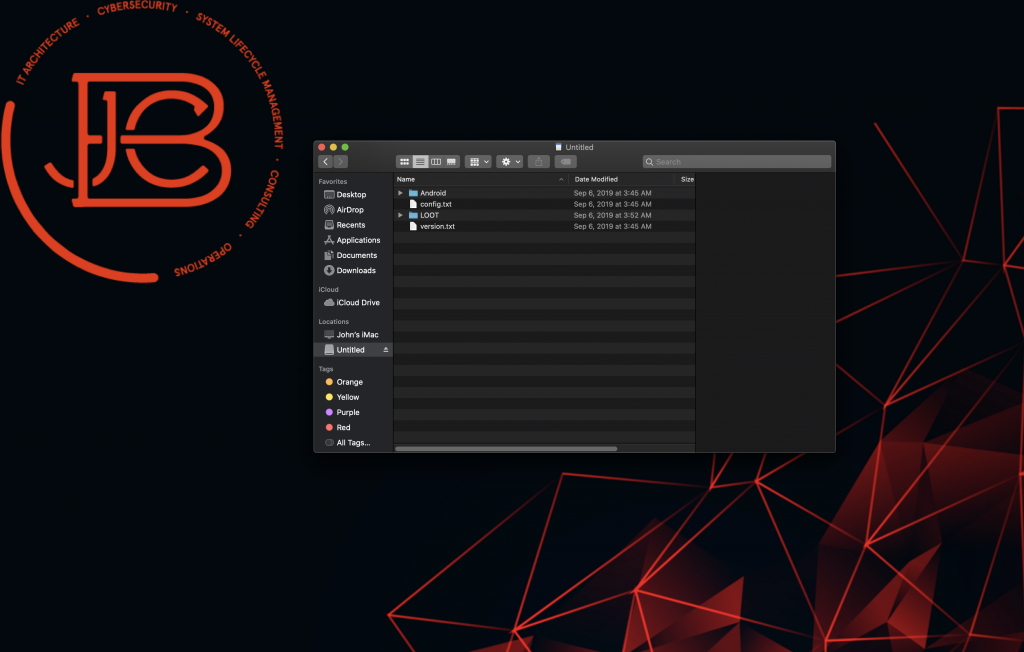
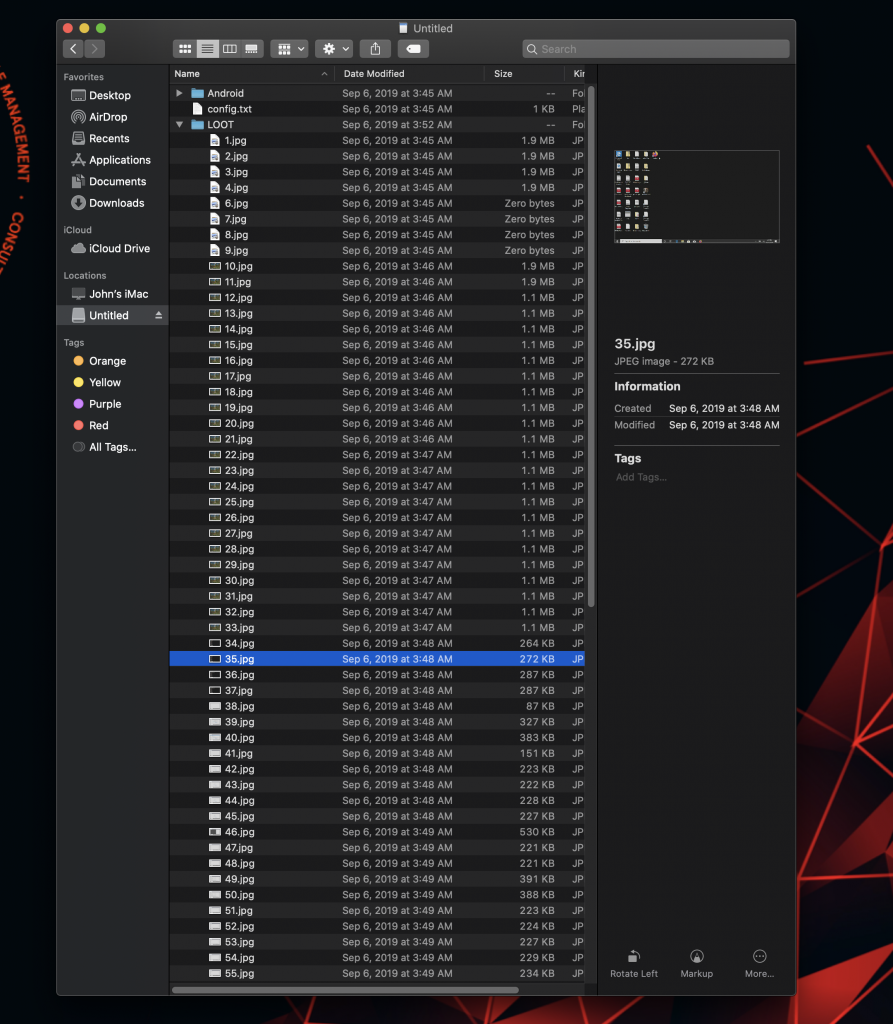
Back on my box, let’s take look at what is going on inside of the Screen Crab. I have powered off the device and took the MicroSD memory card and inserted it into my computer. We see that there are a few folders and text files here. Let’s dig down deeper into them.
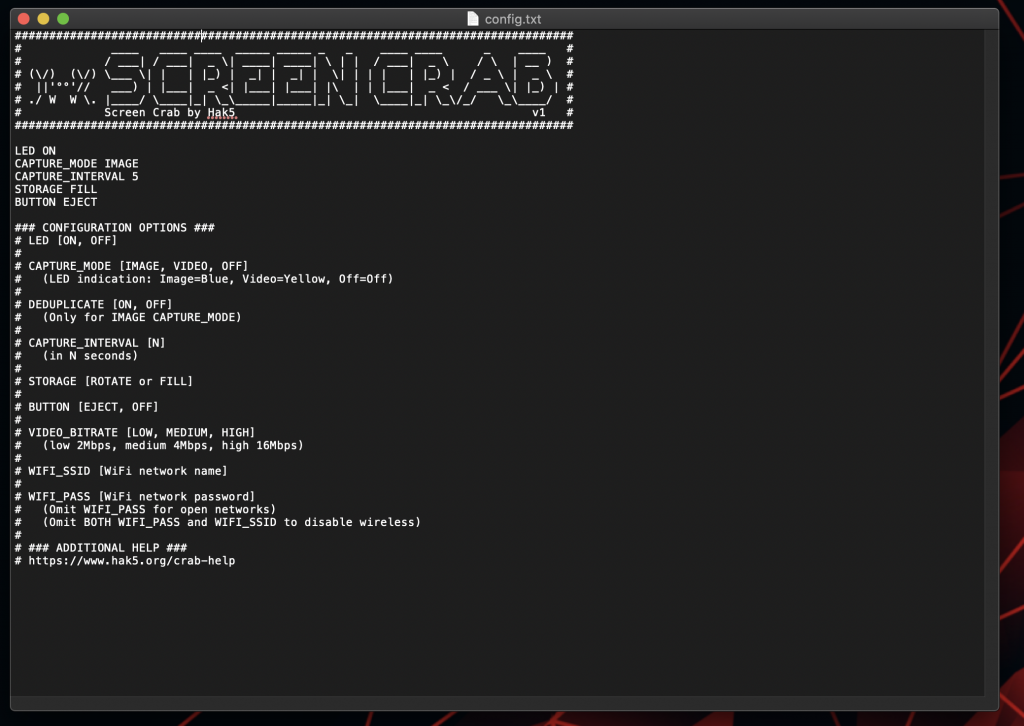
The config.txt file is where you can modify the basic functionality of the device. The information in the file is pretty straight forward. If you want to capture video, turn on WiFi, disable the LED from blinking, modify storage and quality parameter, this is where you do it.
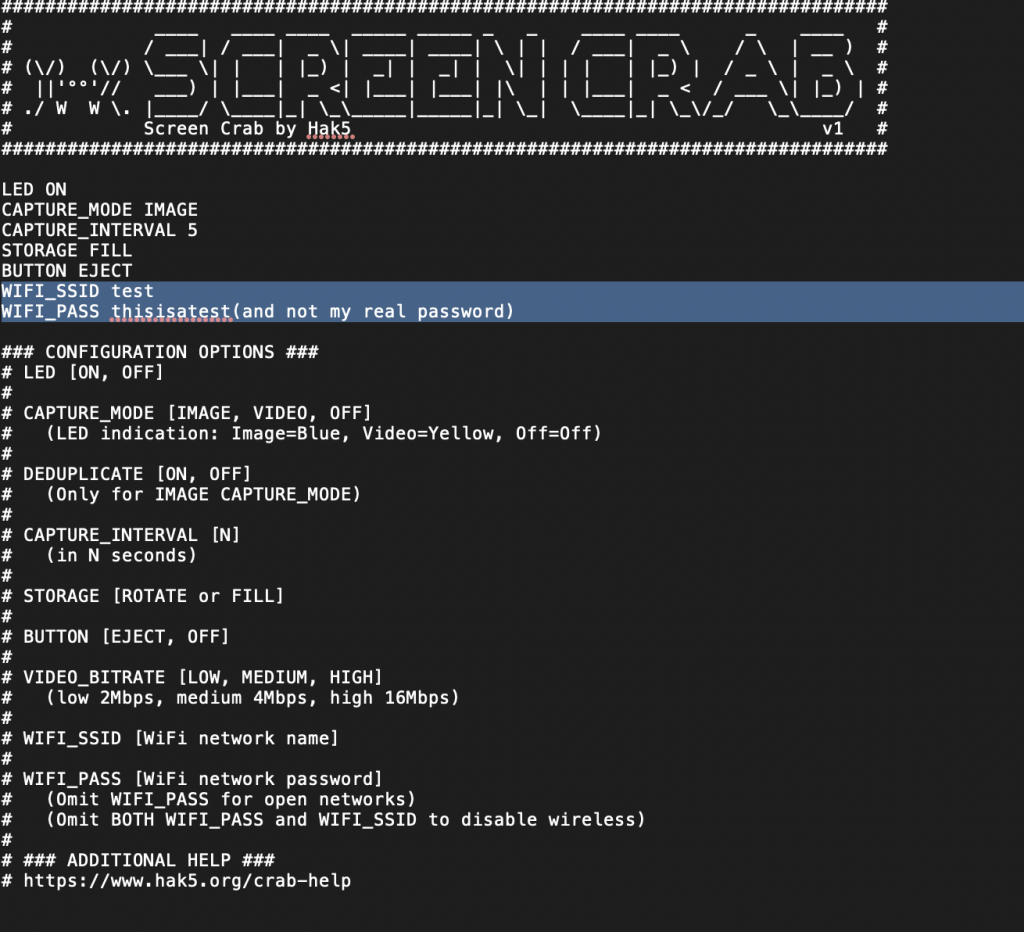
In the image below, I have added some fake credentials for WIFI to the config file.
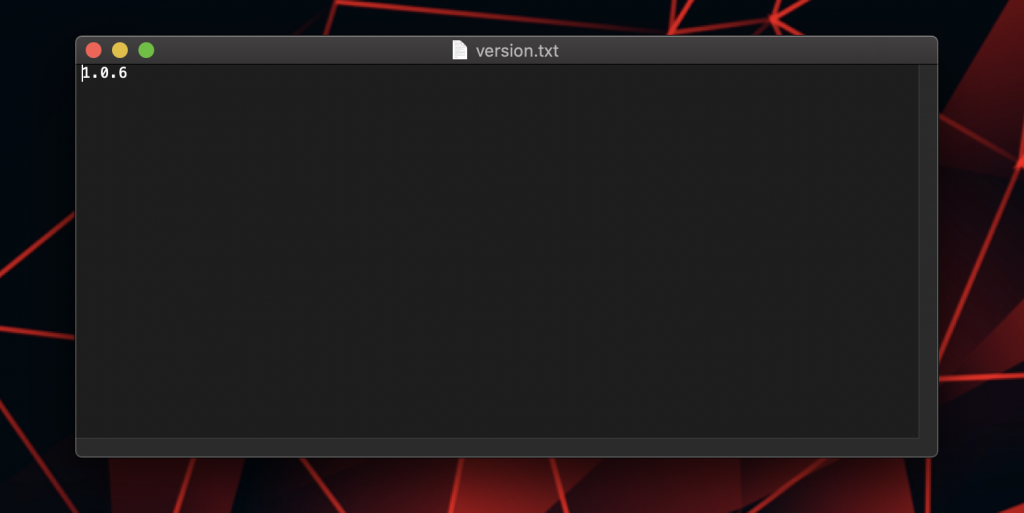
The version.txt is exactly what it sounds like.
The good part is that all of the images are loaded in the LOOT folder. As you can see here, the Screen Crab was taking image snapshots approximately every 5 seconds. So, let’s dig a bit into what we caught while I had this on.
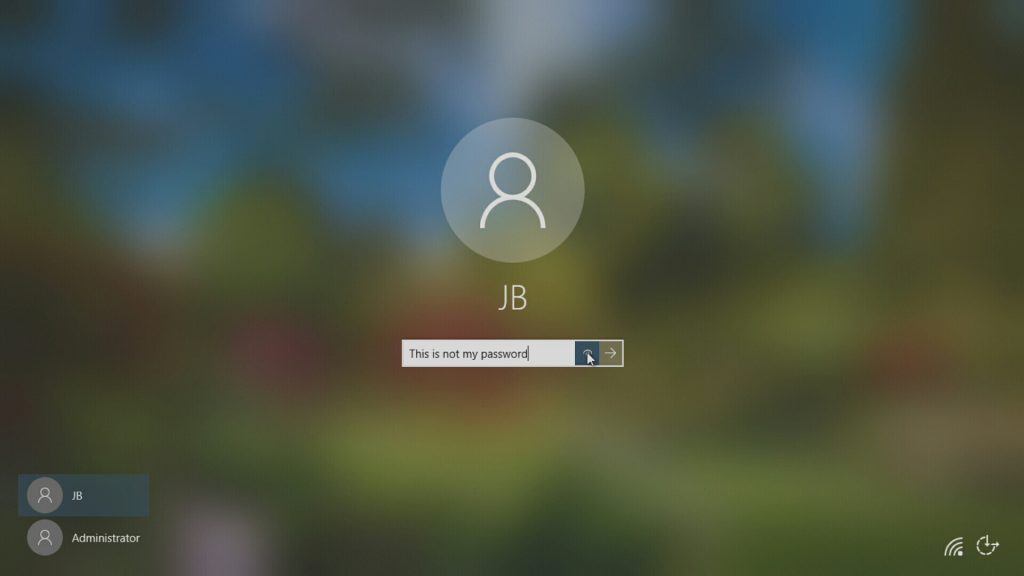
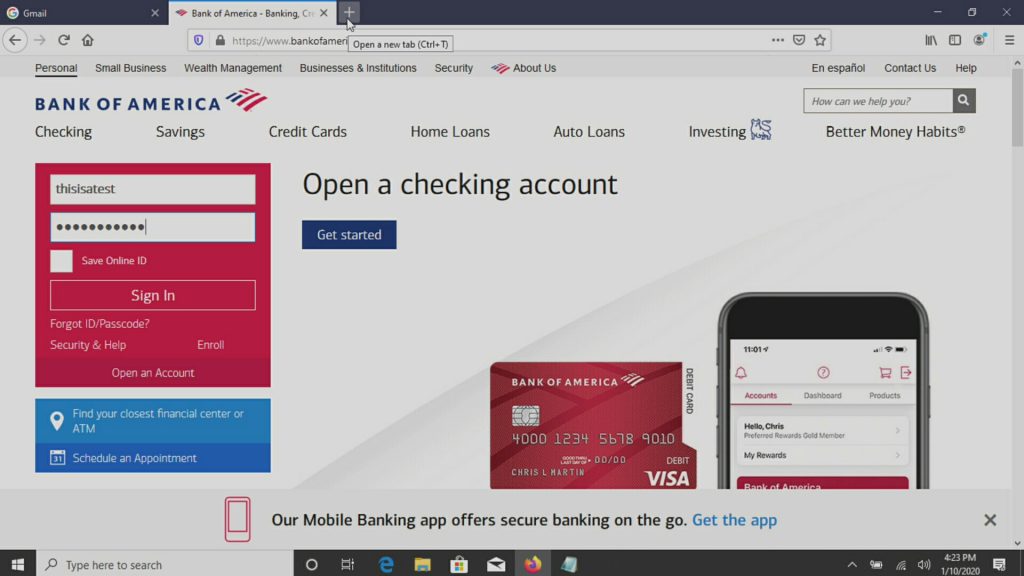
Logon screen… hmmm… so we could take a few things from this. We could find out a username. We could see how many characters a password is. We could also maybe catch a password hint. We could also get really lucky and have someone accidentally type in their password as their username (Extra Credit: it is always a good thing to check for in logs. Even better yet, if you don’t have logs but can sniff traffic, like syslog messages, you might come across that).
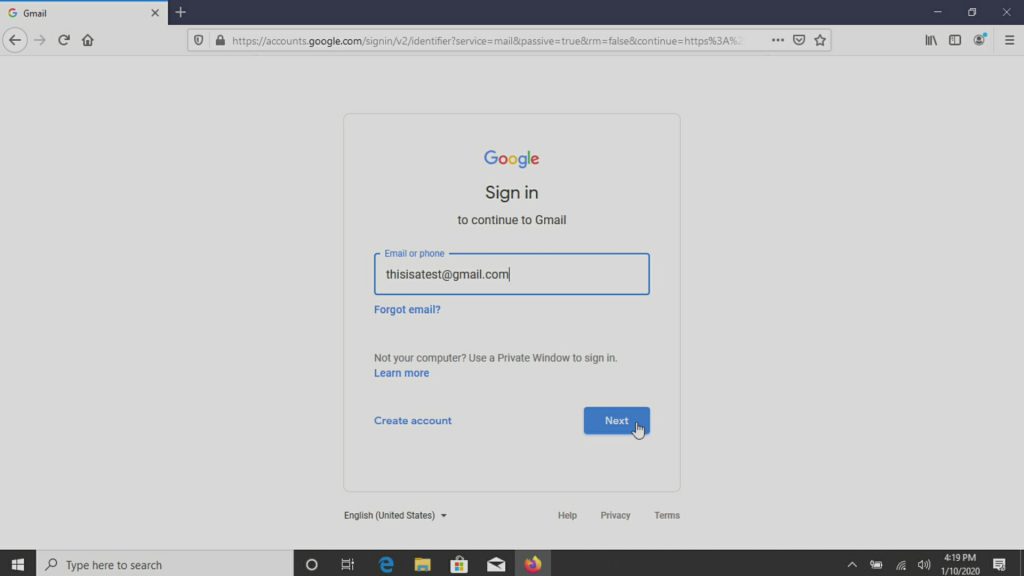
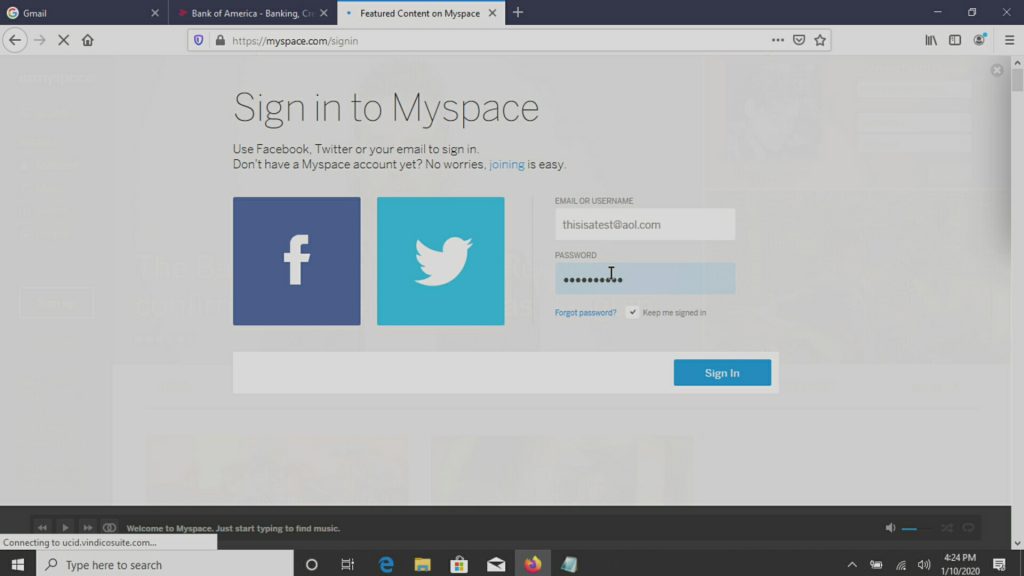
So below we were able to get some login to websites (email, banking, social media).
Everything was normal until we used this login to myspace with an AOL email address. Something doesn’t add up here…
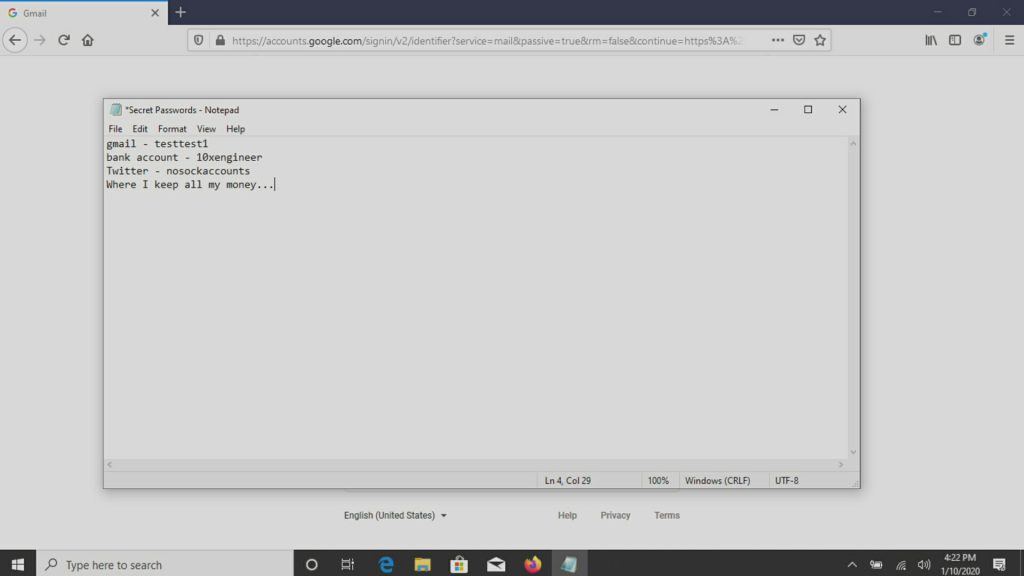
Then it starts to get better with a password file on the desktop.
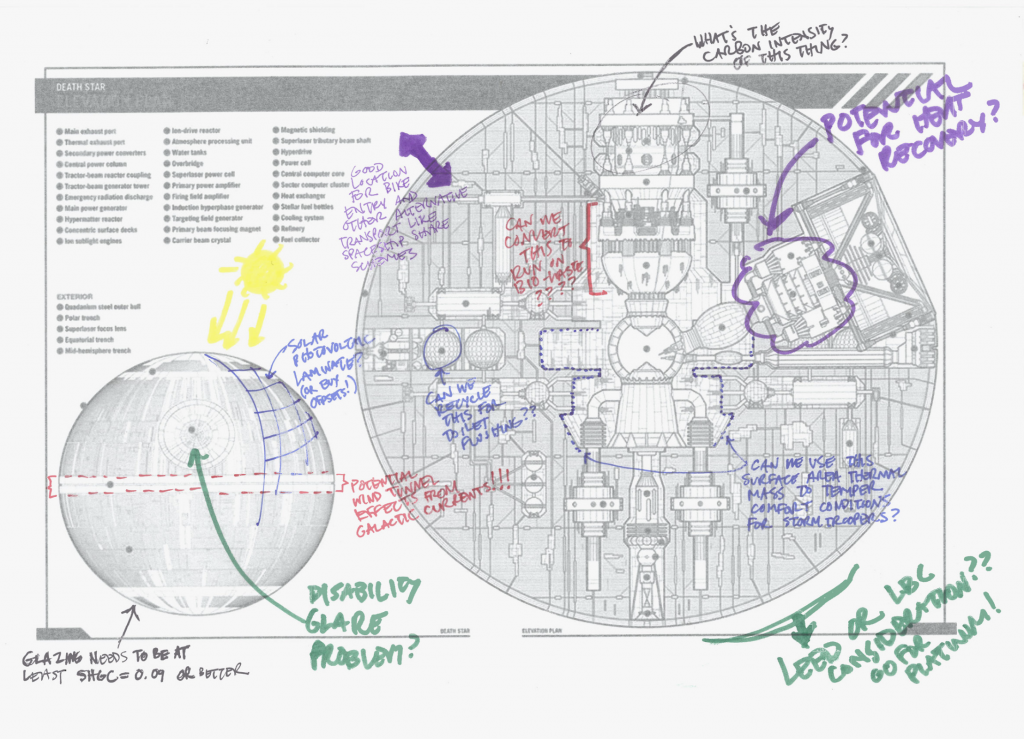
But then, we hit the motherload!!! You never know what type of secret/proprietary information you will find with the Screen Crab 🙂
How to Protect Against Screen Crabs
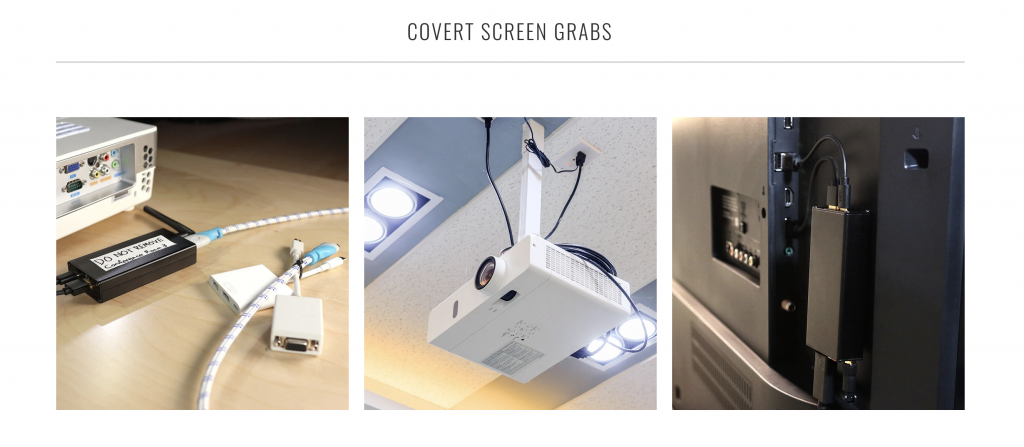
As much as I love finding out how these Hak5 tools work, it’s also worth mentioning about ways to protect against an attacker using them against you or your organization. This device is a little bit different than some of their other ones where you can have more technical controls in place. As seen by some of the photos from their website below, these devices are going to be used in close proximity to the devices they are tapping.
Physical security and being vigilant and aware of what is connected to video output cables is really going to be your best line of defense. I’d question any little device connected to something that has a WiFi antenna. That also means being aware of folks being in spaces and interacting with IT & A/V devices. Having periodic physical reviews in place to look for tools like this would go a long way!
The Wrap Up
This is the second Hak5 pentesting tool that I have written about. Once again, I was pleasantly surprised with how easy it was to deploy and successfully test right out of the box. The rest of the management and access was very straight forward.
I have a few more Hak5 tools that I will be testing out next (Wifi Pineapple, Packet Squirrel, Owl, Bash Bunny, Rubber Ducky, Lan Turtle, and Plunder Bug). Lastly, as I mentioned above, this information is for educational purposes only. You should only use tools/techniques like this on equipment/networks that you are authorized to do so. Don’t do something illegal and don’t be an ass!
Great resources for those interested in diving in a bit more:
- https://shop.hak5.org/
- https://shop.hak5.org/products/c2
- https://docs.hak5.org/hc/en-us/sections/360002701513-Getting-Started
Find out more about J.B.C.’s Cyber&Sight™ blog here.

